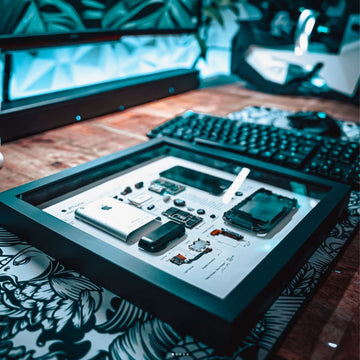
How to teardown Gameboy Color
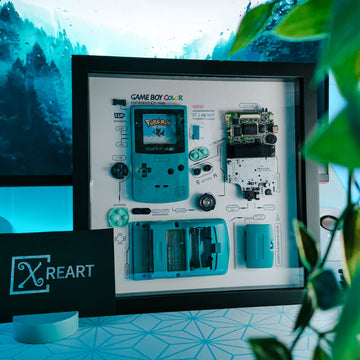
We turned Gameboy Color into artworks, the best gift idea for engineers, gameing geeks, and electronics enthusiasts.
How to teardown your unused Gameboy Color and turn it into a framed artwork. We stripped the Gameboy Color down to its basic components. We are happy to splay the fruits of their labor for your enjoyment!
You can also take a look at the YouTube video slideshow of the teardown!

1.As I said there's about six triwing screw on this thing.You have to jimmy them around until they slowly turn with the weak torque you can provide.

2.Pop the case off!

3.It’s held into place by three phillips screws.Undo these three phillips screews here. Pull those out and you can pull out the board and flip it! Note: At the top of the board is the connection point for the game cartridge.
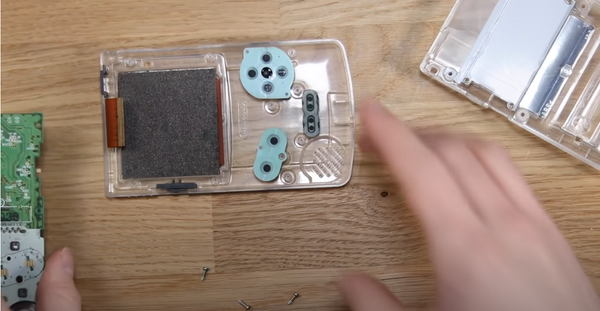
4.This allows you to see the buttons on the surface of the console below the board.
5.You can use a tool with rounded edges (so as not to damage the thin steel case) to gently pry open the LCD screen with the black foam pad on the back.
6.Cleaning the motherboard with a brush

7.Glue the disassembled parts to the design of the drawing.Finally,you can get a teardown Gameboy Color Framed.


