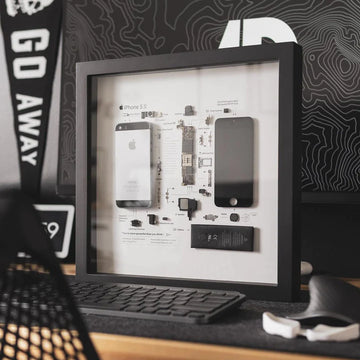
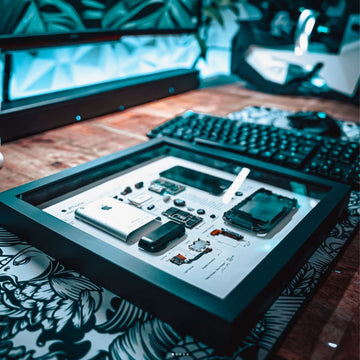
Electronic products are updated faster and faster. How to protect the environment, Let us learn from the spirit of Gary Anderson and turn waste into art.
At the end of the article we provide free iphone4 drawing template download and tools purchase link.

Step1

Let's check out some tech specs:
Apple A8 processor with 64-bit architecture
M8 second-generation motion coprocessor
16, 64, or 128 GB onboard storage capacity
4.7-inch 1334x750 pixels (326 ppi) Retina HD display
8 MP iSight camera (with 1.5µ pixels and phase-detection autofocus) and a 1.2 MP FaceTime camera
Touch ID home button fingerprint sensor, barometer, 3-axis gyro, accelerometer, ambient light sensor
802.11a/b/g/n/ac WiFi + Bluetooth 4.0 + NFC + 20-band LTE
Step2


The rounded corner design of the iPhone 6 is very reminiscent of the first generation iPhone, sans the Lightning connector and Pentalobe screws.
Step3


With the front panel assembly open, we take a peek inside the iPhone 6.
Step4

With screwdriver in hand, we tackle the metal bracket screws that secure the front panel assembly in place.
Step5

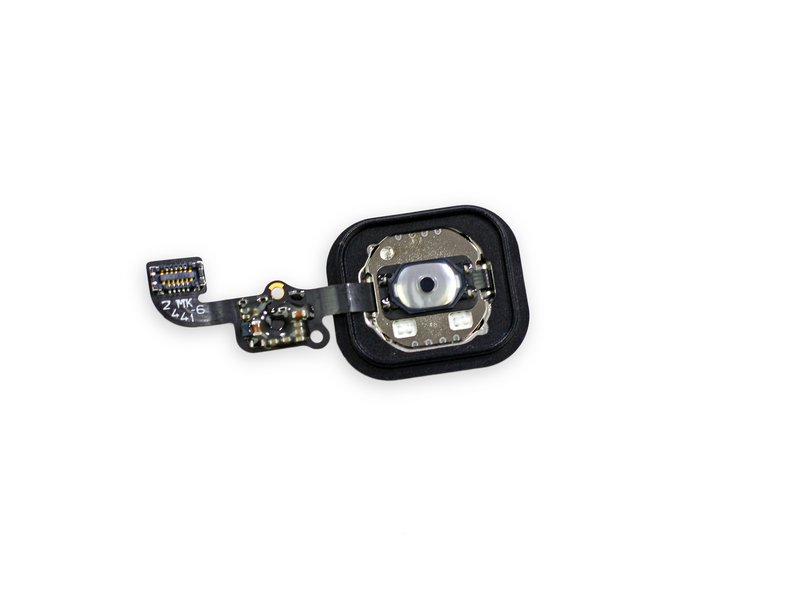
We peel the home button off the front panel assembly with ease—though, as ever, the surrounding rubber gasket is easy to tear if you don't have the steady hands of a tech surgeon.
Step6


the front-facing camera and earpiece speaker reside on the front panel assembly.
We pull them out and line them up for inspection.
Step7


This metal plate and the front panel assembly it covers are perfect examples. The design mirrors that of the iPhone 6 Plus, which in this case is a definite improvement.
Step8


We love these battery pull tabs. Pulled correctly, they'll save you the hassle (and potential hazard) of coaxing the battery out with a pry tool.
This adhesive is similar to a 3M Command adhesive, and when you pull the tab correctly it shears the entire strip off.
Step9


The rear-facing camera is easily removed with a pair of tweezers.
Step10


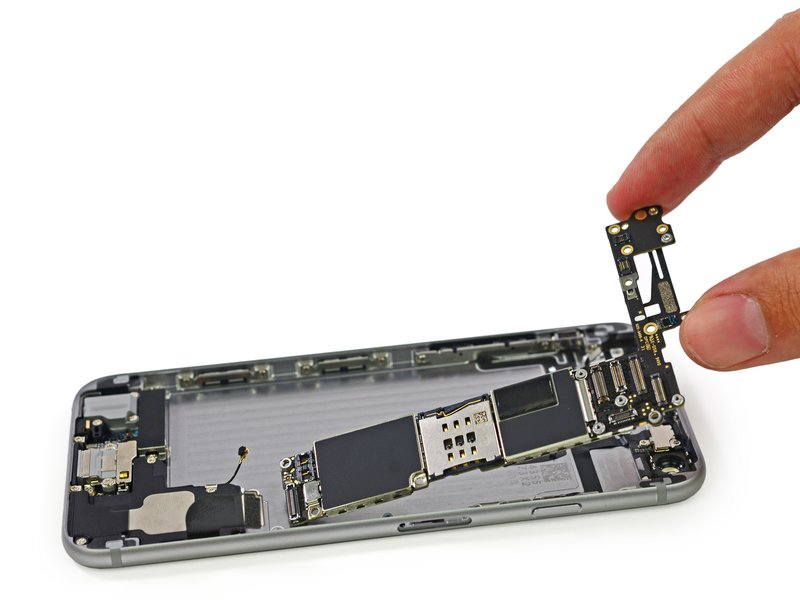
We tweeze out antennas faster than you can remove punny parts from a buzzing board game.
We master the operation and quickly move on.
Up next is the logic board. While it's quite elegantly dressed in its EMI shields, we want to see what lies beneath the veil.
Step11


Vibrator mechanisms seem to be one of those choices like Coke or Pepsi where there is never a clear answer. Apple keeps changing this part's design:
iPhone 4 (counterweight)
iPhone 4S (linear oscillating)
iPhone 5/5s (counterweight)
Step12


sporting a new design for the speaker assembly.
Step13


We now pronounce you headphone jack and Lightning connector. Two have now become one assembly, residing on a single cable.
This new unity means that you can't replace one without the other—which is bad news if you have malfunctioning ports.
Step14
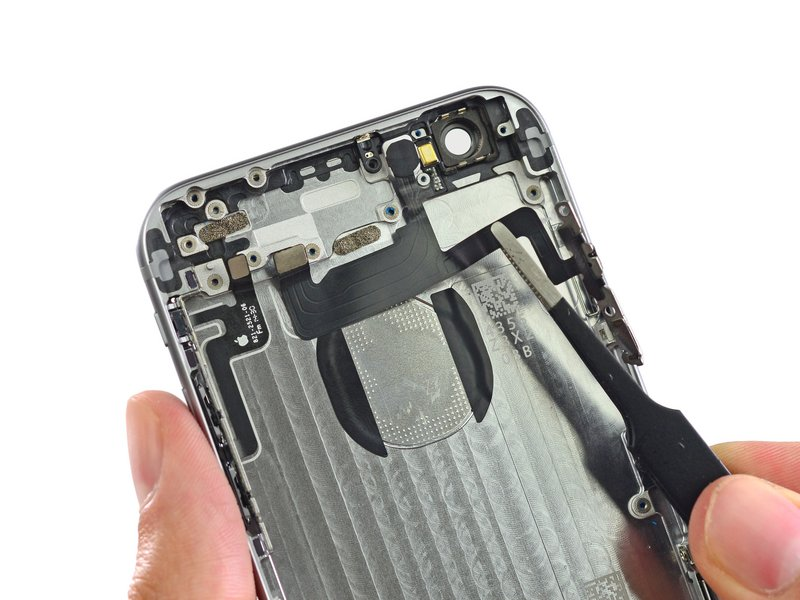

Tweezers simplify our lives. They allow us to peel up the delicate cable assemblies, such as those associated with power button and volume buttons, with ease.
Just like that, the button assemblies are out of their iPhone shell.
Step15

That's all folks. The iPhone 6 earned a respectable seven out of ten.
Step16

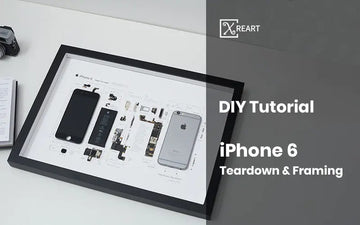
Paste the above components on the iphone paper. If you are using B6000 glue, you need to place it horizontally for 2-24 hours before framing the disassembled phone.
Download iphone6 teardown parts diagram paper template for free:https://xreart.com/pages/free-download-iphone-teardown-template

DIY Series:https://xreart.com/collections/diy-tools/products/diytool
We are passionate about environmental protection and we're donating 0.5% of your purchase to NGOs like Nature Conservancy, Ocean Conservancy, World Wildlife Fund, and Greenpeace Foundation... We also provide templates and DIY tutorials for any products we sell. We hope everyone can turn their old mobile phones into artwork.







Hello, How can I Download iphone6 teardown parts diagram paper template for free?
as you write some row abow?
I would like to do it.