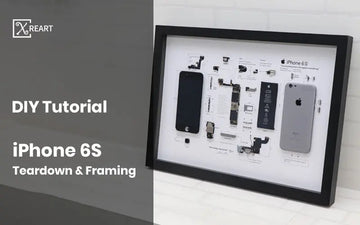
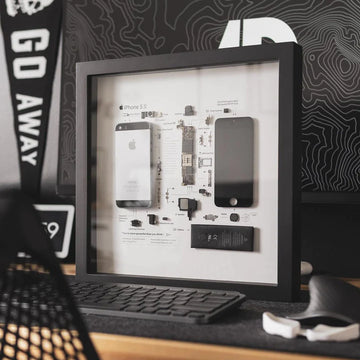
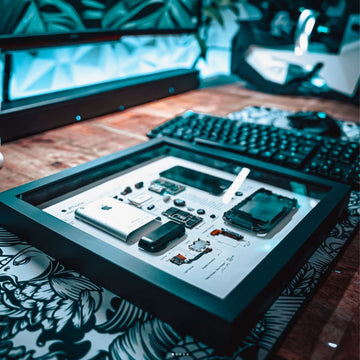
Have a junk drawer filled with old cell phones? If that’s the case, it’s time to clear out those drawers because there’s a lot you can do with them. For example, the phone deconstruction art that is emerging in recent years. If you have an old iPhone 6S, you can make it a beautiful wall artwork. Here's our tutorial of how to tear down the iPhone 6S.
The 6s may look the same as the iPhone 5 series, but there are plenty of new features in this phone, here’re the parts you need know:
Apple A9 processor with embedded M9 motion coprocessor
16, 64, or 128 GB of storage
4.7-inch 1334 × 750 pixels (326 ppi) Retina HD display with 3D Touch
12 MP iSight camera supporting 4K video recording with 1.22 µ pixels, and a 5 MP FaceTime HD camera
7000 Series aluminum enclosure and Ion-X Glass
802.11a/b/g/n/ac WiFi with MIMO + Bluetooth 4.2 + NFC + 23-band LTE
Taptic Engine
Step 1:
Removing the enclosure screws

You can open the iPhone as usual. You have to remove the two pentalobe screws left and right of the lightning connector first.
Steep 2:
Disconnecting the display

We need suction cup and pick to carefully lift the display screen. Since it is now additionally glued at the edges, it can unfortunately not be lifted so easily anymore.
Step 3:
Remove Earpiece and FaceTime camera

The earpiece is under a cover and is located under the FaceTime camera cable set. Both components are slightly glued together and you can remove them easily.
Step 4:
Remove LCD shield

It’s very easy to unscrew the rear panel and lift it out. But there’s a little screw in the side at the level of the earpiece. The cable set now runs under the cover below that.
Step 5:
Remove Home button

Let’s go ahead and remove the home button. You need to take off the LCD shield, before you can remove the home button.
Step 6:
Remove Taptic Engine

Step 7:
Remove Battery

To remove the battery you can usually pull off the adhesive strips quite easily.
Step 8:
Remove Speaker

The speaker is just screwed in place so you can remove it easily and you don’t even have to remove the logic board.
Step 9:
Remove Lightning connector

To loosen it, several screws have to be removed, and the cable set of the lightning connector is still glued relatively tight.
Step 10:
Remove the camera

As with previous models, the camera can be removed relatively easily. It is only attached to the logic board with a plug and two Phillips screws.
Step 11:
Remove the Logic board

The logic board is screwed in place at several points. Before you can lift it out, you have to remove the SIM card tray, the lightning connector and the antenna cable.
Step 12:
Remove Volume and standby buttons

It was possible to remove the volume cable separately from the standby cable without having to remove the logic board.
Step 13:
Now you're almost finished the teardown process, what you need do is to paste the above components on the iPhone layout paper. If you are using B6000 glue, you need to place it horizontally for 2-24 hours before framing the disassembled phone.

You can download the iPhone 6S layout template PDF here: https://xreart.com/products/iphone-teardown-layout-template-pdf-format
Xreart also offers free iPhone teardown templates and you can download here: https://xreart.com/pages/free-download-iphone-teardown-template

DIY Series:https://xreart.com/collections/diy-tools/products/diytool
We are passionate about environmental protection and we're donating 0.5% of your purchase to NGOs like Nature Conservancy, Ocean Conservancy, World Wildlife Fund, and Greenpeace Foundation... We also provide templates and DIY tutorials for any products we sell. We hope everyone can turn their old mobile phones into artwork.


