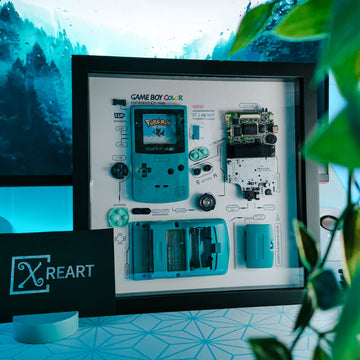
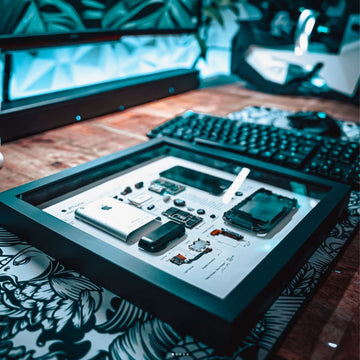
Electronic products are updated faster and faster. How to protect the environment, Let us learn from the spirit of Gary Anderson and turn waste into art.
STEP 1
 Apple doesn't make it easy to identify your iPhone 3GS, as they're all labeled just "iPhone." However, the 3G is model A1241, while the 3GS is model A1303.
The original iPhone was very difficult to open, but we expect the 3GS (like the 3G) to be quite serviceable. There are still two visible screws on the bottom of the phone, which is a good sign for easy opening.
Remove the two bottom screws with a Phillips #00 screwdriver.
STEP 2

A small suction cup is your friend. A large suction cup may also be a fun toy.
There are seven numbered connectors on the 3GS, up from six on the 3G. Connector number seven is in the lower right corner, just above the dock connector.
STEP 3


There are three cables holding the LCD and digitizer to the rest of the logic board. Disconnecting them is as easy as 1-2-3.
1: LCD panel
2: Digitizer
3: Ear speaker
STEP 4
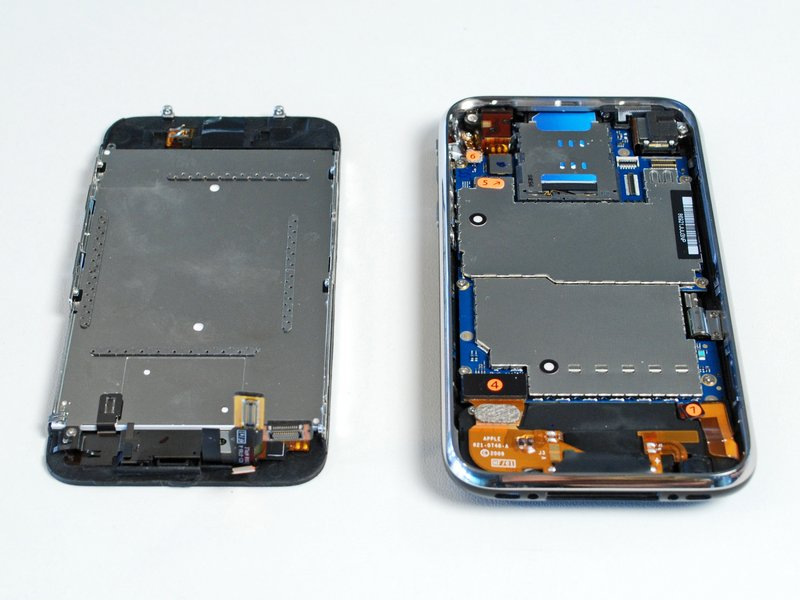
Here's the two halves.
All the chips on the logic board are hidden beneath two large EMI shields. We'll have those removed in just a bit.
STEP 5


Just like the iPhone 3G, the LCD is pretty easy to replace. After removing 6 screws, the LCD simply lifts out.
STEP 6

Here's the fabled "Do not remove" sticker
STEP 7

Removing the logic board. Like the 3G, there is a single large PCB with all components.
STEP 8


The main logic board. There's a lot packed in here. Here's a high-res image of this shot.
The Apple-logo chip is the primary Samsung ARM processor.
The 16 GB of Toshiba flash are now on the front of the board, just below the Samsung ARM.
STEP 9

The other side of the logic board. You can see the battery contact pads in the lower right corner. Apple was again kind enough to not solder the battery to the logic board.
Here's a high-res image of this shot.
STEP 10


Apple promises improved battery life with the 3GS. The battery is listed as 3.7V and 4.51 Whr. This comes out to 1219 mAh, compared to 1150 mAh on the 3G. That's only a 6% increase.
STEP 11

Video recording is a long-overdue feature of the iPhone 3GS. The 3GS records video at 640x480 resolution and 30 fps.
STEP 12


The 3GS offers Voice Control. We're not sure yet why this feature couldn't be added via software to earlier iPhones. Perhaps the voice recognition requires a better microphone than in earlier iPhones or a lot of processing power, or maybe Apple just wanted to differentiate the 3GS.
According to Richard Lai, the "Chinese (Cantonese) voice control works, but took a while to work out the magic words as there is no guide released yet (not out in Hong Kong until early July)." He also tested the "Chinese (Mandarin) and Chinese (Taiwanese), although the latter didn't work as well since [he doesn't] do the accent well."
STEP 13

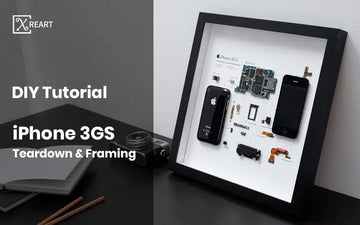
Here's all the parts. We'll continue to Disassemble more different phones, so check back for updates, or follow @xreart official on Twitter.
STEP 14

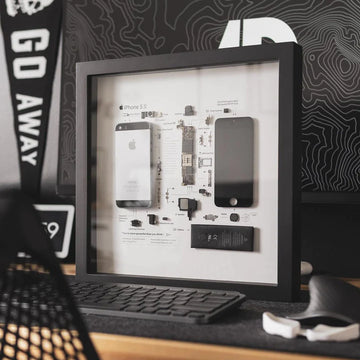
Paste the above components on the iphone paper. If you are using B6000 glue, you need to place it horizontally for 2-24 hours before framing the disassembled phone.
Download iPhone3GS teardown parts diagram paper template for free:https://xreart.com/pages/free-download-iphone-teardown-template

B6000 glue:https://xreart.com/collections/diy-tools/products/b6000
Teardown Tools:https://xreart.com/collections/diy-tools/products/diytool
Frame:https://xreart.com/collections/diy-tools/products/diy-iphone-framed
We are passionate about environmental protection and we're donating 0.5% of your purchase to NGOs like Nature Conservancy, Ocean Conservancy, World Wildlife Fund, and Greenpeace Foundation... We also provide templates and DIY tutorials for any products we sell. We hope everyone can turn their old mobile phones into artwork.


